GAIA
Make A
Difference


How to Stake
Staking with Cardano is Easy and Safe
Use the personal use guide below for learning the basics of ADA staking, crypto best practices, and interacting with the Cardano ecosystem.
Setting up a digital wallet for the first time can be complex for someone new to cryptocurrency, but we are here to help. If you do not feel completely comfortable or confident for any reason, please contact us and we will be happy to help you.
If you are a business or organization, please schedule an appointment for consultation.

Step 1: Purchase ADA
ADA is the native token of the Cardano blockchain, and is required to earn staking rewards. Staking your ADA with a community pool like GAIA helps secure the Cardano network in a decentralized manner, and contributes to block production.
You can buy ADA from any Centralized Cryptocurrency Exchange (CEX) available in your country that has ADA listed for purchase. The exchanges we recommend are Coinsmart (for Canadians), Coinbase, and Kraken.
Using our referral links above also get us both a bit of extra cryptocurrency!
Remember, always do your own research before investing in any asset, and do not invest more than you are willing to lose.

Step 2: Create your wallet
Storing your ADA in a your own personal wallet protects it from third party loss or theft. There are many different wallets for storing your ADA safely so that you can stake and earn ADA rewards.
Remember the golden rule of cryptocurrency: Not your keys, not your coins.
Leaving your cryptocurrency on your exchange wallets, or sharing your private keys or seed phrase with someone gives those third parties full control of your coins.
Cryptocurrency left on exchanges can be lost through lending schemes, and can be frozen or seized by government officials, unlike coins stored in your private wallet.
Here are the wallets for storing ADA that we recommend (in order):
Nami
Browser Extensions
![]() Desktop
Desktop
Web
Mobile
Ledger
Trezor

Step 3: Transfer your ADA
In order to begin staking your ADA in a secure manner, you first need to move your purchased ADA off of a centralized exchange and onto your personal wallet. You will need to have both your newly created personal wallet from Step 2, and your CEX account from Step 1 open.
A) Navigate to the “Receive” button/tab inside your personal wallet and copy an ADA wallet receive address listed here. This is an address starting with “addr1q…”
B) Navigate to the CEX account storing your purchased ADA (ie: Coinsmart, Coinbase, Kraken).
C) Navigate to your CEX assets/holdings for ADA and select “Send”, “Transfer”, or “Withdraw”. It is always recommended to send a small amount first (ie: 5 ADA) as a test before withdrawing a large amount of crypto.
D) Paste the wallet address from Step A and in the “To” or “ADA Wallet Address” field, select your test amount of ADA to send, and follow the on-screen prompts to complete your first transfer transaction.
E) Navigate to your personal wallet and confirm you have received the ADA from your test transfer.
F) Navigate to your CEX assets/holdings and repeat Step C and Step D to transfer the remaining amount of ADA you wish to send to your personal wallet, then confirm you have received the ADA from your CEX transfer.

Step 4: Stake your ADA
Staking your ADA is easy with this connector button powered by Cardano Solutions and Cexplorer.io. It is compatible with the first five major browser-based Cardano wallets in the above list, like Eternl.
Simply “Confirm delegation request”, “Stake”, and then choose your wallet and “Connect”. Delegating to a stake pool requires signing a transaction in your wallet, and this transaction will appear in a pop up window in your wallet.
Alternatively, searching for our pool ticker GAIA in the “Staking” or “Delegation” section of your wallet will bring up our pool to delegate to.
After delegating, follow the on-screen prompts to complete your delegation transaction.
You can confirm your selection is correct by comparing our Pool ID:
pool17e4rdh59t4fmn4g3p02xvs853katrjzge830tsmd3sfdc645yvt
Wallet delegation only needs to be done once, and ADA can be added or withdrawn at any time (is not locked).
The staked ADA balance of your personal wallet is automatically updated at the start of every Epoch (5 Days). See the Staking Rewards and Delegation Cycle below for more details.
Step 5: link a hardware wallet
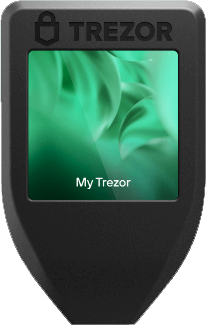
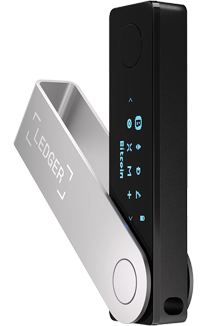
Use a hardware wallet to further secure your crypto. This is highly recommended to add an additional layer of security to your digitial wallets. Hardware wallets allow you to store your private keys in a physical device, and require physical authentication for any outgoing transactions from the linked wallet. This makes wallets linked with a hardware device invulnerable to attacks and data leaks.
Both Trezor and Ledger manufacture hardware wallets that support ADA.
*Recently Ledger added an opt in KYC Ledger Recover subscription feature, which allows Ledger access to users’ private keys (fragmented and encrypted) in order to recover lost keys. This creates a back door which could potentially be exploited, so please be aware of this.
Only buy a hardware wallet directly from the manufacturer to protect against third party tampering.

Step 6: Best practices for handling crypto
1) Store your crypto in your personal wallet until you are ready to sell, at which point you would transfer your crypto back on to your exchange wallet. This limits your risk to third party loss.
2) Always first send a small amount of crypto when sending to a new wallet address to make sure that a transaction goes through without issue.
3) Always double check the receive address of a wallet address you enter and make sure it is correct before sending. Crypto sent to an incorrect receive address will be lost.
4) Make sure the asset types match before sending crypto. Sending ADA to a BTC wallet address will result in lost crypto.
5) Make sure the network types match before sending crypto. For example, sending ADA to the BSC network will convert it to a BEP20 token, and you will not be able to stake it or withdraw it to your personal wallet without converting it back to ADA.
6) Make sure the “memo” or “tag” field is is filled in correctly if present for a crypto. Sending a token like XLM or XRP without filling in the “memo” or “tag” field will result in lost crypto.
7) Yield farming is risky, and you can lose your crypto through impermanent loss, or if there is not enough liquidity left in a pool for you to withdraw your crypto from.
8) Leverage trading is extremely risky, and we do not recommend this. You are very likely to lose your crypto when leverage trading.
9) Tax reporting is always recommended and required by law in most countries for cryptocurrency transactions. Buying and selling cryptocurrency & NFTs, trading and loaning cryptocurrency & NFTs, earning staking rewards, gifting crypto, and engaging in De-Fi activities can all be taxable events.
Taxation rules vary from country to country, but to make your crypto taxes as easy as possible, we recommend using Koinly.io
To learn more about cryptocurrency taxes in your country, check out the Tax Guides section.

Step 7: Exploring the Cardano Ecosystem
1) Claim your extra staking rewards with Vending Machine, TosiDrop, and DripDropz
2) Vote on community funding proposals with your ADA, and get paid for every vote you cast with Project Catalyst
3) Explore and purchase CNFTs (Cardano Non-Fungible Tokens) collections on the Cardano blockchain with jpg.store
4) Trade your CNFTs with others in a secure manner at tradingtent.io
5) Mint your own CNFTs or FTs (Fungible Tokens) on Cardano with services like Mermada Mint, Anvil Development Agency, Buffy Bot, NMKR, and jpg.store
6) Trade your ADA for other fungible tokens on the Cardano blockchain using Decentralized Exchanges (DEXes) like Minswap, Museliswap, Wingriders, or SundaeSwap
7) Yield farming and liquidity pools are available for advanced users (more risk). You can explore these Decentralized Finance (DeFi) services on some of the DEXes mentioned above.
8) Mint or burn Stablecoins on the Cardano blockchain using DJED. Stablecoins (pegged to USD) are used to preserve the dollar value of cryptocurrency in US dollars. This can be used as a tool to take advantage of the price volatility of crypto. DJED can also be purchased on some of the DEXes mentioned above.
9) Stake, loan, or borrow CNFTs on the Cardano blockchain using services like VyFinace or Fluid Tokens. These are also higher risk services.
Staking rewards and delegation cycle
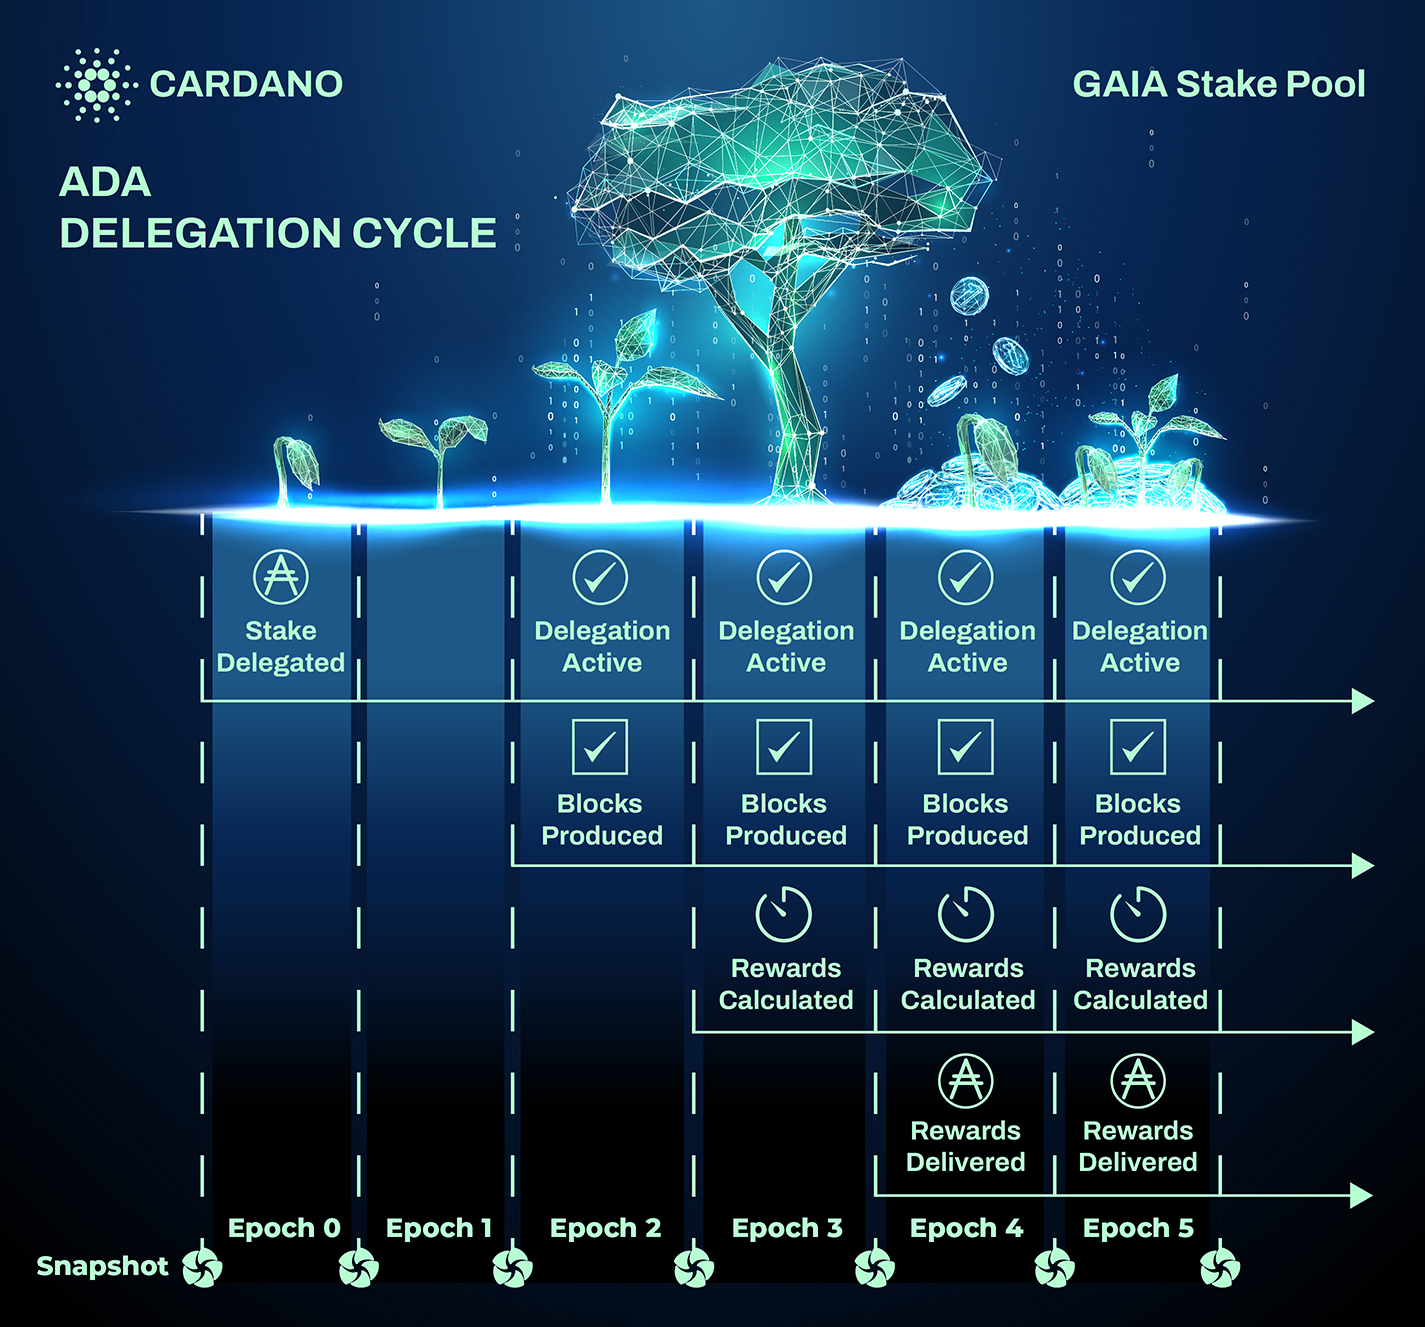
1) One Epoch is 5 days in length, and the Epoch changeover is at 21:45:00 UTC.
2) Snapshots are used to measure ADA balance in a wallet. Rewards calculations are based on ADA balance at time of snapshot.
3) ADA that is newly staked is Registered in the first snapshot after the delegation date (Epoch 1). Newly staked ADA becomes active and contributes to block production in the second snapshot after the delegation date (Epoch 2).
4) When first starting to stake, it will take between 3-4 Epochs (15-20 days) before your first rewards are delivered (as long as a block was produced). After initial delegation, staking rewards are delivered every Epoch (as long as a block was produced).
5) If your stake pool does not produce a block in an Epoch your ADA is actively staked in, do not worry. Small pools do not produce blocks as often as large pools, but the rewards payout is much higher when blocks are produced. This is because rewards are not split between as many delegators. Some small pools also provide additional rewards for their delegators to help offset this difference, like GAIA. Learn more about additional staking rewards.
6) Your ADA is always liquid and you can withdraw it or spend it as you choose. Personal ADA wallets use self-custody, so you control your own ADA at all times (not a third party). The only time your ADA would be locked would be if it is used as collateral, such as in DeFi transactions or Smart Contracts.
GAIA Stake Pool is a mission-driven pool leading by example in the Cardano ecosystem. Ready to change the world together? Let’s do it!
Contact
CONNECT WITH US

